
Add a custom field
Add your own field to contacts, products or invoices - for example a loyalty tier - and decide whether it prints on invoices.
Draft lesson. The steps are checked against the live system when the video is recorded.
Settings / Custom Fields
Video walkthrough
Being recorded - follow the steps below for now
Where to find it
SettingsCustom Fields
Steps
- Open Settings > Custom Fields. Under Applies to, choose what the field is for: Contacts (customers / vendors), Products or Customer Invoices.
- Type the Label - the name people will see on the form, for example
Loyalty Tier. - Choose the Type: Text, Number, Date, Yes / No or Dropdown. For a Dropdown, type the Choices separated by commas, for example
Gold, Silver, Bronze. - Tick Required if the field must always be filled in, and Show on invoice PDF to print it on invoices.
- Click Add field. The field is listed on the page and appears on the matching create and edit form.
- To remove a field you no longer need, click its Delete button.
Note
Custom fields are stored in your own company database only.
What happens next
Look at a customer record to see the new field: Add a customer.
Was this lesson helpful?
Thank you for the feedback.
Keep learning
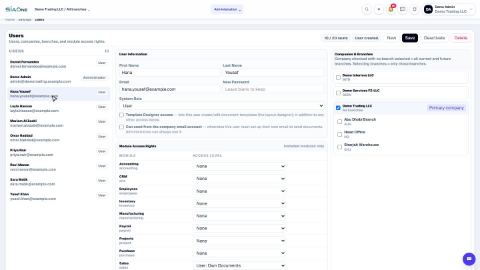
Add a user and set access rights
Create a login for a colleague, choose the companies they can work in, and set their access level for each app.
Understand access levels: None, Own Documents, Manager
What None, User: Own Documents and Manager mean for each app, and how they differ from the Administrator role.
Add a branch
Add a head office, branch, warehouse, store or office to a company, so users and documents can be tied to a location.
 1:03
1:03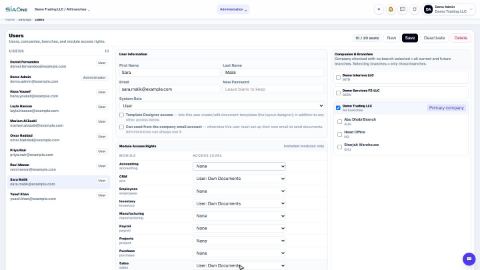 0:57
0:57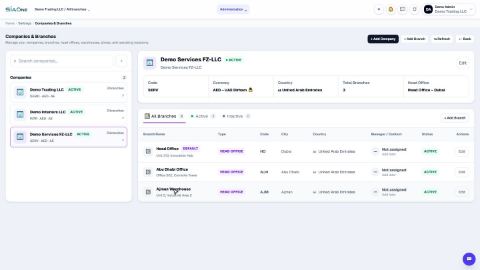 1:04
1:04