
Add a user and set access rights
Create a login for a colleague, choose the companies they can work in, and set their access level for each app.
Where to find it
SettingsAdministrationUsers
The three access levels
For every app you choose one level per user:
- None - the user does not see the app at all.
- User: Own Documents - the user can create documents and work on their own, or the ones assigned to them.
- Manager - the user can also see everybody's documents, delete, and change the app's configuration.
See Access levels explained for more.
Steps
- Open Settings, point at Administration and choose Users. Click New.
- Type the First Name, Last Name and Email. The email is what the person signs in with.
- Type a Temporary Password and give it to the person. They can change it after signing in - see Change your password.
- Choose the System Role: User for normal staff, Administrator for people who manage the whole system.
- On the right, tick the company the person may work in. A ticked company with no branch ticked means all its branches.
- Under Module Access Rights, choose a level for each app - for example Sales: User: Own Documents. Apps left on None stay hidden.
- Click Save. The new user appears in the list and can sign in straight away.
Important
Access is enforced by SiaOne itself, not just hidden on screen. A user with None on Accounting cannot open accounting records even with a direct link.
Note
The counter at the top (for example 10 / 20 seats) shows how many users your plan allows.
What happens next
Give the new user your SiaOne address and point them to Sign in to SiaOne.
Was this lesson helpful?
Thank you for the feedback.
Keep learning
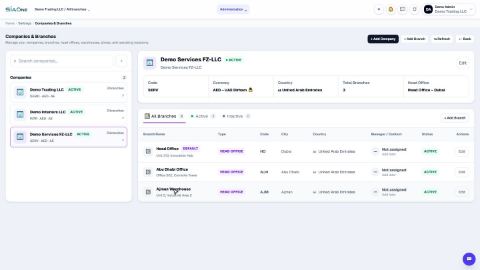
Add a branch
Add a head office, branch, warehouse, store or office to a company, so users and documents can be tied to a location.
Change the date format and decimal places
Show dates and amounts the way you read them - day first or month first, and how many decimals.
Change document and journal numbering
See how quotation, order, invoice, bill, payment and journal numbers are built, and where to change the prefix, format and starting number.
 1:04
1:04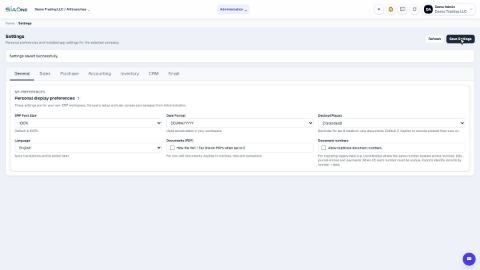 1:03
1:03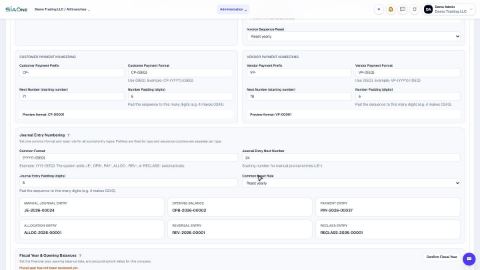 0:50
0:50